Stern Tie Kludge

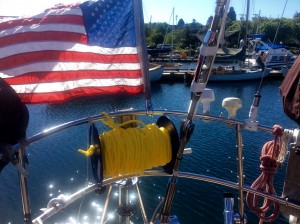
So, cruising in the San Juan’s/British Columbia is going to mean anchoring in a fair amount of smallish coves where we’ll need to tie Charisma’s stern to land to keep her from swinging into the rocks. Today I rigged up a cheap (read: free) reel for the 300 feet of polypropylene line I bought for this purpose. Walked around town until I found an empty spool, then drilled a hole for the handle which I made from some scrap pvc pipe and voila!…our new stern line storage.

Stern line reel

We’re planning to leave Monday or Tuesday pending the weather. We’ll probably head to Friday Harbor and maybe Suicia for some hiking, then after a few days cross into BC at Sidney. I bought my Canadian non-res fishing license today, so we’re ready on the fishing side. Ann’s been waxing and polishing the topsids and stocking up provisions and I’ve been doing some touch up varnishing and now I’m going to empty the lazarette and get it organized.

Getting close!

Boat Work Never Stops

Just when you think…oh never mind.

Ann’s up in the BBQ area doing some sewing to repair some of our canvas stuff.  It’s easier to spread everything out on the tables and now that we’re back in the US we can use our sewing machine off the boat (120 volt here – 220volt everywhere else in the South Pacific).

Sewing in the parking lot - no - it's the BBQ area up near the parking lot.


So, the last thing on my list was emptying the lazarette to do a couple projects.  Re-attach the corroded leads on the hydro-generator and check the fluid level on the transmission.  While down there I notice a fine salt film covering the transmission.  Uh, oh…I turned on the engine to see what was going on and saw saltwater bubbling out of the exhaust water mixer.  This is the set of pipes that pass saltwater through engine baffles for cooling and then pass it out through the engine exhaust.  Crap!  This area is very difficult to get into much less use tools in.  Very cramped and right now down in the lazarette it’s gotta be 100 degrees!  Anyway, it has to be fixed so here’s a look at the problem.

The dreaded lazarette. First I have to squeeze down this thing - it's about five feet down to the engine.

Yup, down there...

...then in there - yeah, that hole. You go down here feet first, then you have to contort your feet/legs the other way around and get one arm at a time in throughout the hatch since my shoulders won't fit in all at once.

Once inside the elbow thing on the left with the white heat tape on it had to unbolt from the engine and the two hoses and muffler.


Turns out the hose was rotten too. One of the clamps broke and the ends of the hose crumbled off.

It’s always a bit dishearting to find “new projects” like this, but at the same time this was a big problem just waiting to cause a major failure, so I’m glad I found it here where it’s relatively easy to fix.

The update is that I took it to a local welder.  He tried to weld the pin-hole and a broken weld on one of the pipes, but the material was toast and wouldn’t hold together.  So…now we’re waiting for some stainless steel pipe which should arrive on Monday and probably a very large bill.  Sigh.

Just read this post anytime you fantasize about owning your own boat, then go rent one for the day, have fun and go home knowing that the maintenance is someone else’s problem    😉

(Just kidding)

Took more than an hour to pry this thing loose, but it's finally out.

While cleaning it up I found a pin-hole in the metal. At least now I know what's causing the leak.


Today’s Project Is…

…New batteries!

The batteries have been acting a bit suspicious lately, and finally I decided that even though they seem charged, they just don’t hold their power capacity anymore. They are deep discharge lead acid batteries and are almost four years old. That’s about the lifetime of that type of battery, especially under tough conditions (many deep cycles), so I figured why take a chance on them giving us trouble waaay out in the South Pacific. Only problem is down here in Enzed, batteries are just about worth their weight in gold because they are shipped in from somewhere. In this case, Trojan T-105 marine batteries come from…the U.S.! So I had to pay almost 3X what they would cost in California.

Oh well, peace of mind…

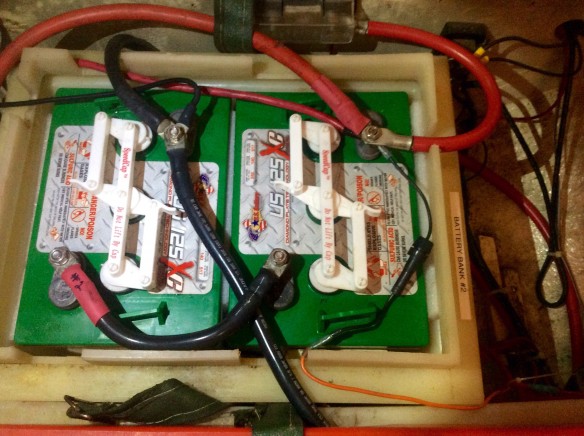
Oh yes, lots of fun with cables. This is bank #2

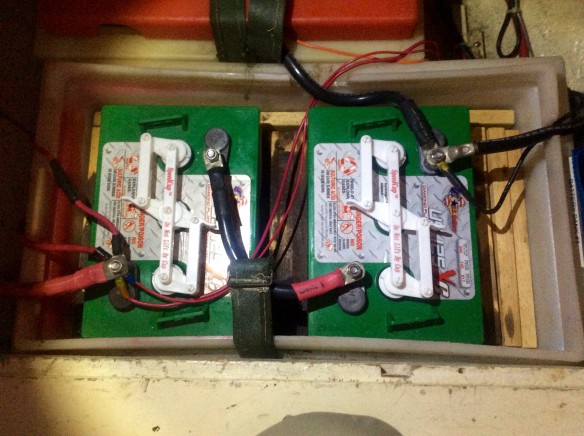
And we don't want to leave out Bank #1. I hope I get all the wires and cables back in the right places!

Waiting, Waiting, (and working)

Oh, it never stops. Either you’re out sailing to some remote spot or you’re waiting for a weather window to allow you to go. If you’re waiting for a weather window, then you’re sitting around with nothing to do but work on the boat. Boat “improvements”, as it were.

Such it is now. Because it will be at least a week before there is a window between nasty little (and not so little) storms blowing through, we’re sitting here in Whangarei going; “well, we could fix this thing”. We have a week or so to cool our heels and have thus “found” two weeks worth of boat projects we could work on.

And, so it goes.

Alas, it’s the calculus of boat ownership.

(Hint: looks like round about the 19th or so we’ll think about leaving. I’ll also post a couple notes about our proposed course/timing in the next few days).

Flying Drawers

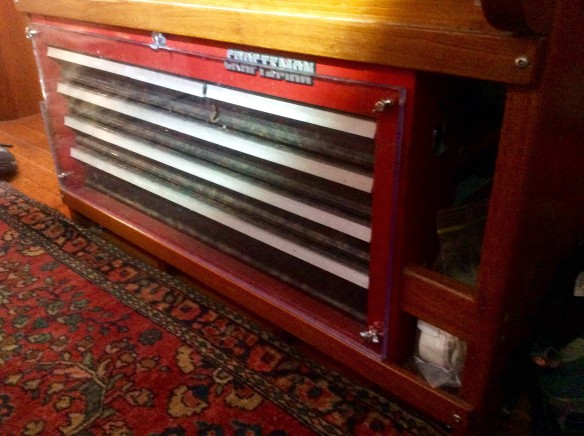
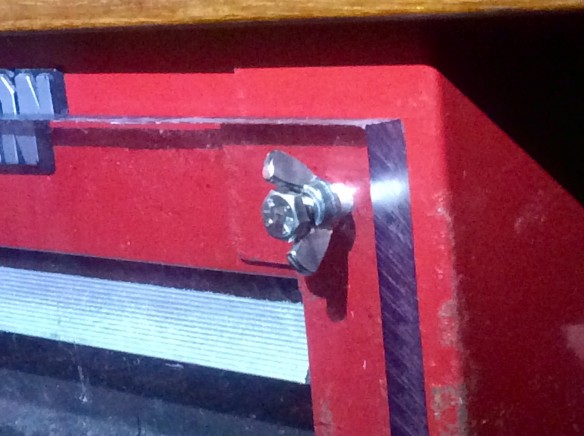
Sounds more fun than it is. The tool chest drawers under our cabin table have an annoying habit of flying open and spilling all the socket wrenches and other sundry stuff when we’re in rough weather on port tack. We have had a Rube Goldberg kind of solution with straps and buckles, but it loosens over time and fails anyway.

So…today, with all the other big projects done, I finally tackled this problem and here’s the solution:

I found a piece of plexiglass, drilled out four corners and tapped the steel chest for screws...

...then I glued wing nuts with Loctite onto screws for home-made, easy to open fasteners.

And that’s our excitement for today on this very windy, squally day at the dock. We’re ready to go out to Barrier Island for our shakedown, but this wind won’t ease for another day or so.

Scanmar (Monitor) Is The Best

Scanmar is the company that makes our Monitor wind vane (affectionately known on Charisma as “Wilson”).  They not only make a great product – it’s the only “autopilot” on our boat and steers 99% of the time – but their customer support cannot be surpassed.

Late last week, in continuing to get Charisma ready for our long 2015 voyage back to the US, we brought out the vane part of the wind vane (which is kept in the cabin when not in use) and discovered that it had cracks up each side of the strengthening dowels inside the vane.  We suspect the cracks are not a fault of the company’s but due to the fact that we keep it under the cabin cushion when not in use.  In other words we sit on it.  Well, even though it’s lasted through five years that way, we’re not going to do that anymore.  But more to the point we have very little time until we leave and needed  both new vanes – the standard and the heavy weather one – and were wringing our hands worrying about how long it might take.  I sent an email to Monitor and almost immediately across the time zones, received a reply.  “In stock, will ship out the next business day”.  Wow!  And it really did.  Today I got the UPS shipping notice and it should be here in about a week.  No problem, no worries.  One of the best companies we have worked with.  Highly recommended!

P.S.  A big shout out to Susy at Scanmar for taking such good care of us!

Corner To Corner

I think that’s one of the reasons we’re paying extra attention to the little things that leak. We’re about to sail from the lower left of the Pacific to the upper right. In miles, 10,000 probably isn’t too far off. Little leaks add up to big ones over such distances.

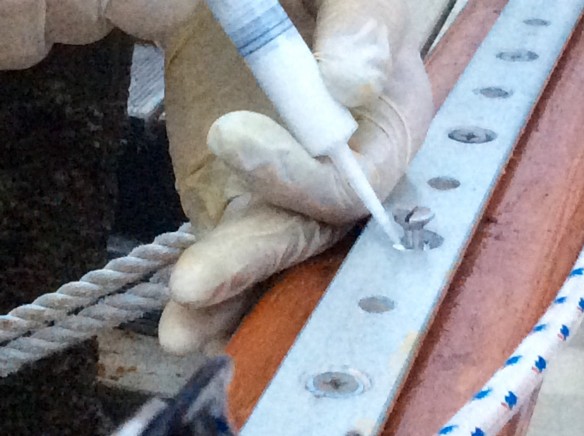
So, a couple more pictures of today’s bolt rebedding project.

Here's the jib track and fitting one of the screws.

Using a syringe to really get the bedding compound deep into the joint.

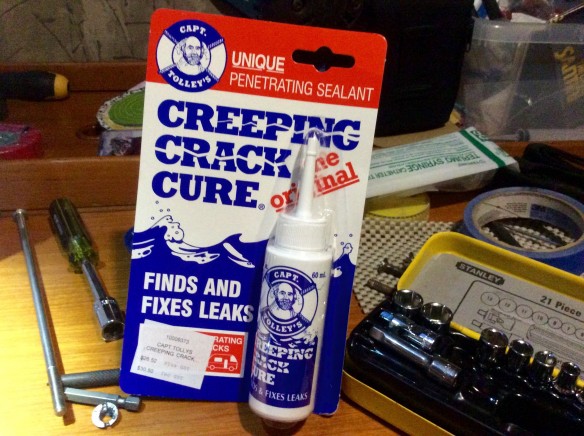
Couldn't help buying some of this. If a leak shows up while we're underway, I've heard this works-at least temporarily. Besides, how can you resist a name like that?

It’s Always The Last One!

I’m replacing six screws on the jib track. They are stainless steel, and about nine inches long since they go through the toe rail, scuppers and deck. I had to have them custom forged as no one stocks 1/4″ diameter screws that are that long.

OK, so I got the new ones made in just a couple days thanks to the generous help of Terry from Custom Alloy and Stainless here in Riverside, Whangarei. He’s really busy, but I think he took it as a bit of a challenge to fabricate them. Lucky for me. He ended up taking 1/4″ bar stock, putting it into a custom made die the shape of the head of the screw, then heating and hammering it into shape. He then cut a slot for the screw driver and cut threads for the nut.
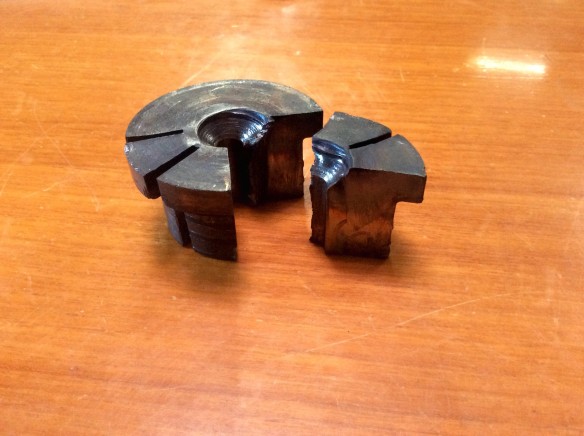
Here's the die. It ultimately broke, but lasted long enough to complete the job along with a couple extra bolts.

BUT…there’s always a “but” with a project like this. Five of the old screws came out without too much convincing. Ah, but the sixth one…it’s always the last and hardest one to get to that causes problems. The nut for this one resides in the very back corner of a silly 14 inch deep shelf that is only four inches from the ceiling. I can barely get my hand in there with a wrench. Hmmm, this could get ugly!

With Ann’s able assistance holding the wrench (much harder to do in real life than it sounds) I went up on deck with my impact driver (a regular screwdriver went no-where). It started to turn then absolutely seized up. I tried going forward then backward to loose it, but the only result of that was a broken driver tip.

I considered several other strategies including dismantling the shelf, but an idea Ann had finally was our next step. I would drill off the head of the bolt and punch it down through the deck. Only problem…a 4″ shelf and an eight inch long screw. Ann’s solution-drill a hole in the back corner of the shelf that the screw could go through. Brilliant!

The rest was just drilling and punching.

The carnage. Bolt, drilled out head and broken tools.

The final tally: one bolt removed, a broken driver head, broken punch, destroyed screw and heroically burned out drill bit.

Phew. Boat projects, ya gotta love the challenge.

Salty Bugger

The winch that is.

Yup, it’s winch maintanence time. Glad I did it. Several of the mast winches showed signs of clogging from dried salt. There’s nothing like strapping in to go up to the mast in 30-plus knots of wind and high seas at 0330 on a “dark and stormy night” to reef the main only to find the winch is jammed. Hopefully we can avoid that with a little preventative maintanence.

Winch cleaning day!

Almost There

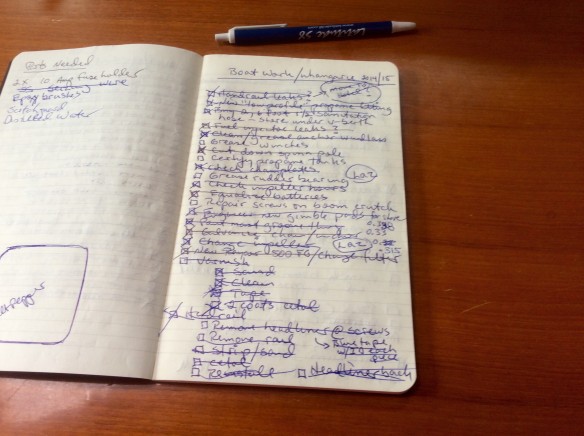
Boat project wise, that is. The long list is almost done.

Page one of two. Almost all are crossed off. Now we just need a weather break to go for a shakedown. Rain this weekend and next. Maybe after that.

On another subject, we were delighted to have lunch today with Bright Angel Bob and Linda! They were up from Gulf Harbor where Bright Angel is getting new teak decks. So great to see them and catch up!